To learn how do you solder copper tubing effectively, start by cutting and cleaning the pipe, then apply flux, fit the pieces together, heat the joint, and finally apply solder. Using the right products and following a detailed step-by-step guide ensures a strong, leak-free connection. Many beginners struggle with preparation or use incorrect materials, leading to weak joints and leaks. If you choose to DIY your own pipe replacement, take your time and carefully check each step for the best results. This guide will help you DIY with confidence. For more complex jobs, you can rely on AFI Industrial Co., Ltd. for expert welding services.
Key Takeaways
- Get the right tools and materials first. You need a pipe cutter, emery cloth, propane torch, lead-free solder, and flux.
- Always wear heat-resistant gloves and safety goggles. Work in a place with good airflow to stay safe from burns and fumes.
- Measure and cut the copper pipes with care. Remove any sharp edges and clean all surfaces. This helps make a strong, leak-free joint.
- Put a thin, even layer of flux on both the pipe and fitting. This helps the solder flow and stick the right way.
- Push the pipe into the fitting. Twist it a little to spread the flux and make a tight, straight connection.
- Heat the joint evenly with the propane torch. When it is hot enough to melt solder, touch the solder to the joint and let it flow.
- Let the joint cool down by itself before you touch it. Clean off any extra flux so the pipe does not rust.
- Check your work for a smooth, shiny ring of solder. Test for leaks and fix them by re-soldering if you need to.
Table of Contents
Tools and Materials
Essential Tools
You need the right tools to solder copper tubing safely and effectively. Each tool has a specific job. Here is a list of the most important tools you should gather before you start:
- Pipe cutter: This tool helps you cut copper pipes to the correct length. It makes a clean, straight cut.
- Emery cloth or sandpaper: Use this to clean the outside of the pipe. It removes dirt and oxidation.
- Wire fitting brush: This brush cleans the inside of fittings. Clean surfaces help the solder stick.
- Propane torch: You use the torch to heat the joint. The heat melts the solder and bonds the pipe and fitting.
- Heat-resistant gloves: These protect your hands from burns.
- Safety goggles: Goggles keep your eyes safe from sparks and hot metal.
- Measuring tape: You need this to measure the pipe before cutting.
- Pipe deburring tool: This tool removes sharp edges after you cut the pipe.
Tip: Always check that your tools are in good condition before you begin. Clean tools make your work easier and safer.
Materials List
You also need the right materials to make a strong, leak-free joint. The most common materials for soldering copper tubing in homes include:
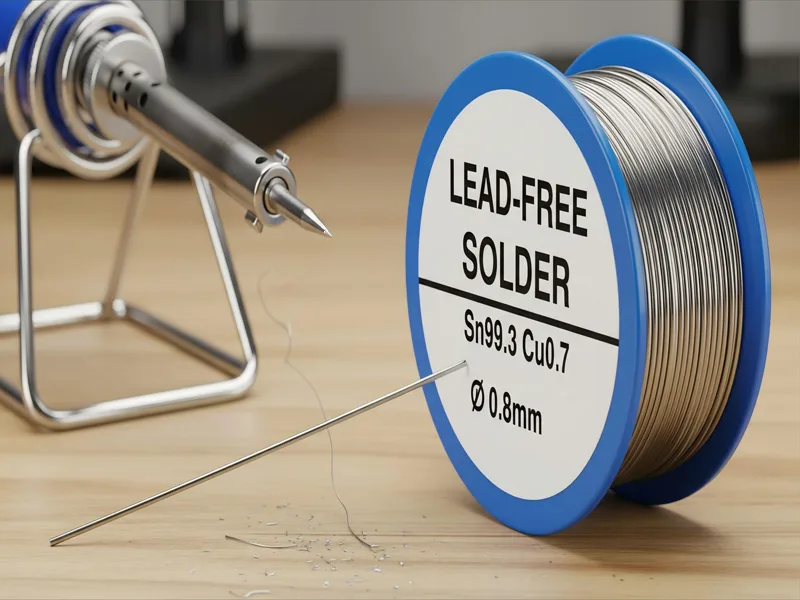
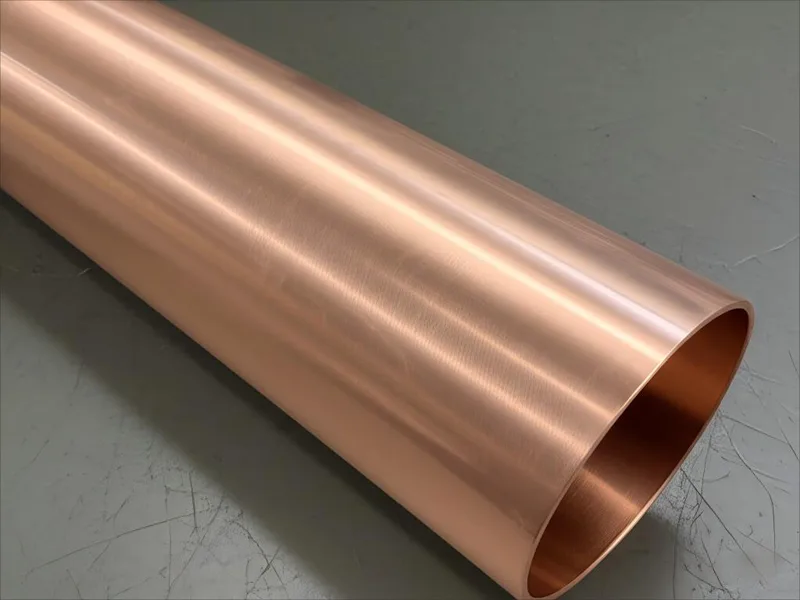
- Copper pipes and fittings: These form the water line or plumbing system.
- Tinning flux: This is a paste that you apply to the pipe and fitting. It helps the solder flow and bond to the metal.
- Lead-free solder: This type of solder is safe for drinking water. It melts at a lower temperature and creates a strong seal.
- Water and a clean rag: You use these to wipe away any extra flux or residue after soldering.
You should always use lead-free solder and tinning flux for residential plumbing. Clean the copper pipe with emery cloth and a wire brush before you apply the flux. Apply a thin layer of flux to both the outside of the pipe and the inside of the fitting. Heat the joint with a propane torch until it is hot enough to melt the solder. Then, touch the solder to the joint and let it flow into the gap. This process creates a leak-free seal.
Optional Items
Some items are not required, but can make your job easier or safer:
- Fire-resistant cloth or pad: Place this behind the joint to protect walls or nearby surfaces from heat.
- Pipe cleaning tool: This tool combines a brush and reamer for faster cleaning.
- Soldering paste dispenser: This helps you apply flux evenly and with less mess.
- Work light: Good lighting helps you see your work clearly, especially in tight spaces.
- Bucket or tray: Use this to catch any water that may drip from the pipes.
If you plan to work on large or complex projects or if you need specialized welding, you can contact AFI Industrial Co., Ltd. Their professional welding services use advanced equipment and expert techniques for reliable results in industrial and specialized settings. For most home plumbing repairs, the tools and materials listed above will help you complete the job with confidence.
Safety Tips
Personal Protection
You need to protect yourself before you start soldering copper tubing. Always wear heat-resistant gloves. These gloves keep your hands safe from burns and hot metal. Safety goggles are also important. They protect your eyes from sparks, flying debris, and hot solder. You should wear long sleeves and pants made from natural fibers like cotton. Synthetic fabrics can melt if they get too hot.
Tip: Tie back long hair and remove any jewelry. Loose items can catch fire or get in the way while you work.
You should also work in a well-ventilated area. Soldering produces fumes that can be harmful if you breathe them in. Open a window or use a fan to move fresh air through your workspace. If you feel dizzy or lightheaded, stop working and get some fresh air right away.
Fire Safety
Soldering uses an open flame, so fire safety is very important. Keep all flammable materials away from your work area. This includes paper, cloth, wood, and cleaning products. Place a fire-resistant cloth or pad behind the joint you plan to solder. This protects walls and other surfaces from heat and sparks.
Always have a fire extinguisher nearby. Make sure you know how to use it before you start. A small fire can spread quickly, so you need to act fast if something catches fire. Never leave the torch unattended, even for a short time.
Note: Check your torch and fuel connections for leaks before lighting. Use soapy water to test for bubbles at the connections.
Workspace Setup
Set up your workspace before you begin. Choose a flat, stable surface to work on. Clear away any clutter. Keep your tools and materials organized and within easy reach. Good lighting helps you see what you are doing, so use a work light if needed.
Make sure your workspace has enough room for you to move safely. Keep a bucket of water or a wet rag nearby. You can use these to cool down hot pipes or put out small flames. If you work in a tight space, plan your movements so you do not bump into anything hot.
Safety Reminder: Never solder near gas lines or in areas with poor ventilation. If you feel unsure about your setup, ask a professional for advice.
By following these safety tips, you protect yourself and your home. Careful preparation makes soldering copper tubing safer and more successful.
Preparation
Measure and Cut
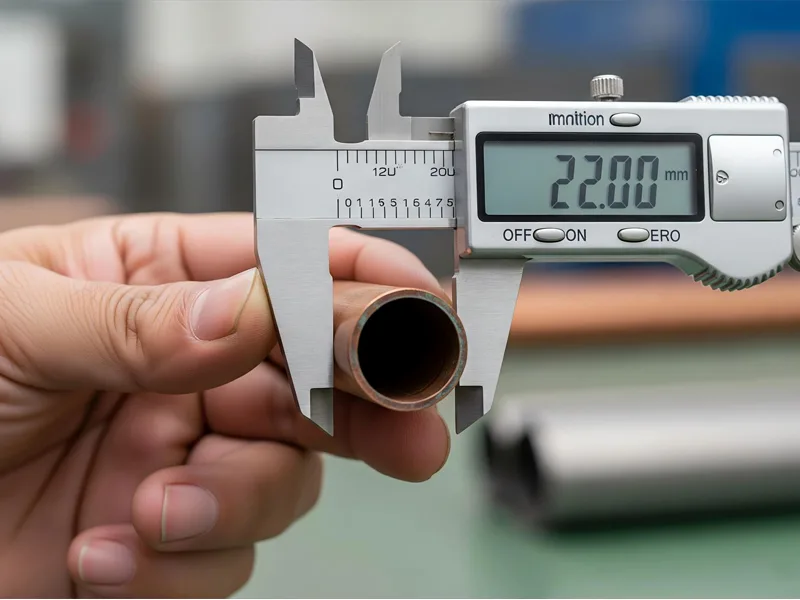
You need to start with accurate measurements. Use a measuring tape to mark the length you want for your copper pipe. Double-check your mark before you cut. A small mistake can lead to leaks or wasted material. Place the pipe cutter on your mark and tighten it just enough to grip the pipe. Rotate the cutter around the pipe, tightening it a little after each turn. This method gives you a straight, clean cut. Good prep at this stage helps you avoid problems later.
Tip: Always measure twice before you cut. This habit saves time and materials.
Deburr Pipe
After you cut the pipe, you will see small, rough edges inside the pipe. These are called burrs. Burrs can cause several problems:
- Burrs restrict water flow and may cause clogs in your plumbing.
- They prevent a proper seal, which can lead to leaks at the joint.
- Burrs lower the quality and strength of your soldered connection.
- Removing burrs gives you a smooth finish, which is important for a watertight and reliable joint.
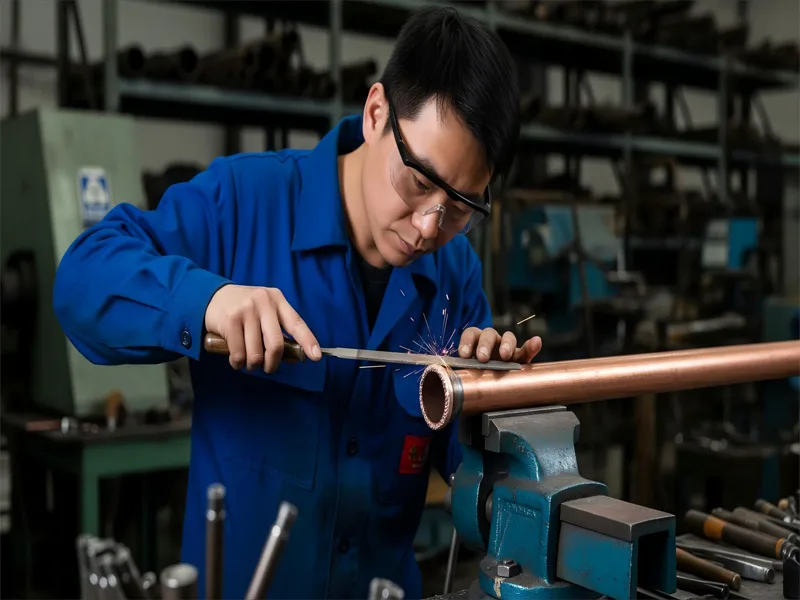
Use a pipe deburring tool or a round file to remove these rough edges. Insert the tool into the pipe and twist it until the inside feels smooth. This step is a key part of your prep. A smooth pipe end helps the solder flow evenly and creates a strong seal.
Clean Surfaces
You must clean the pipe before you solder. Dirt, oil, and oxidation can stop the solder from sticking. Use emery cloth or sandpaper to clean the outside of the pipe. Rub until the copper looks shiny. Use a wire brush to clean the inside of the fitting. Make sure both surfaces are free from debris. Repeat this process for every joint you plan to solder.
Cleaning is not just about looks. When you clean the pipe, you help the solder bond tightly and prevent leaks.
Always remember, clean the pipe before you move to the next step. Good cleaning means better results and fewer problems. If you skip this step, your joint may fail.
Apply Flux
Choose Flux
You need to pick the right flux before you start soldering copper tubing. Flux is a chemical paste or liquid that helps clean the metal and allows the solder to stick. For plumbing jobs, you should use a water-soluble, lead-free flux. This type works well with copper pipes and is safe for drinking water systems. Always check the label to make sure the flux matches your project needs.
You can find flux in small tubs or squeeze bottles at most hardware stores. Some brands offer a brush inside the lid, which makes it easier to apply. If you work on pipes that carry drinking water, never use acid-based flux. Acid-based products can damage copper and make water unsafe.
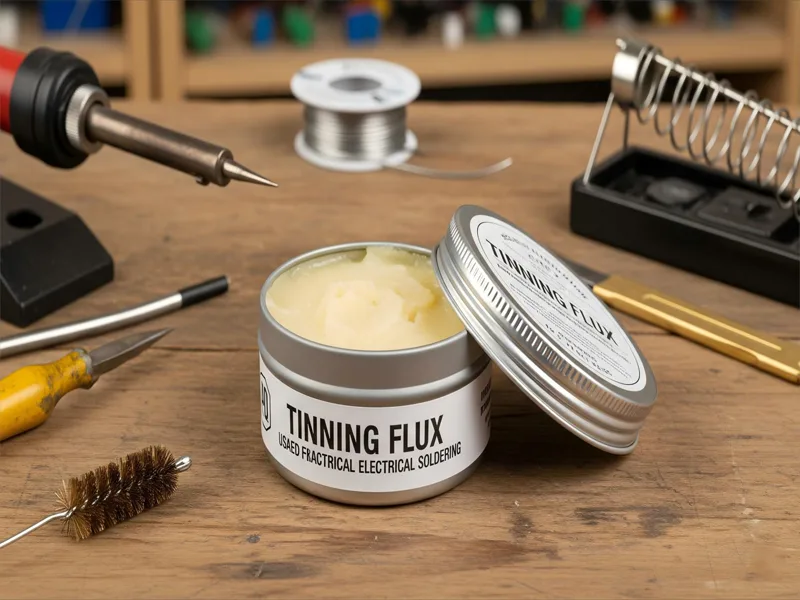
Tip: Store your flux in a cool, dry place. Keep the lid tightly closed to prevent it from drying out.
Apply Evenly
You must apply flux to both the outside of the pipe and the inside of the fitting. Use a small brush or the applicator that comes with the flux. Dip the brush into the flux and spread a thin, even layer over the cleaned surfaces. Make sure you cover all areas that will touch each other when you join the pipe and fitting.
If you apply flux unevenly, you risk creating weak spots in your solder joint. A thin, even layer helps remove oxides and keeps them from forming again when you heat the metal. When you miss a spot or use too much flux, the solder may not flow smoothly. This can lead to poor wetting and irregular solder flow. The joint may not form a strong bond, which can cause leaks or failures later.
A good solder joint starts with careful preparation. Take your time to apply flux evenly. This step helps you get a strong, reliable connection.
After you apply flux, fit the pipe and fitting together right away. Do not touch the cleaned and fluxed surfaces with your fingers. Oils from your skin can cause problems with the soldering process.
Checklist for Applying Flux:
- Clean both the pipe and the fitting until shiny.
- Use a small brush for better control.
- Spread a thin, even layer on all contact surfaces.
- Avoid touching fluxed areas with your hands.
- Assemble the joint soon after you apply flux.
By following these steps, you help ensure a leak-free and durable solder joint. Careful flux application sets the stage for a successful soldering job.
Assemble Joint
Fit Pipe and Fitting
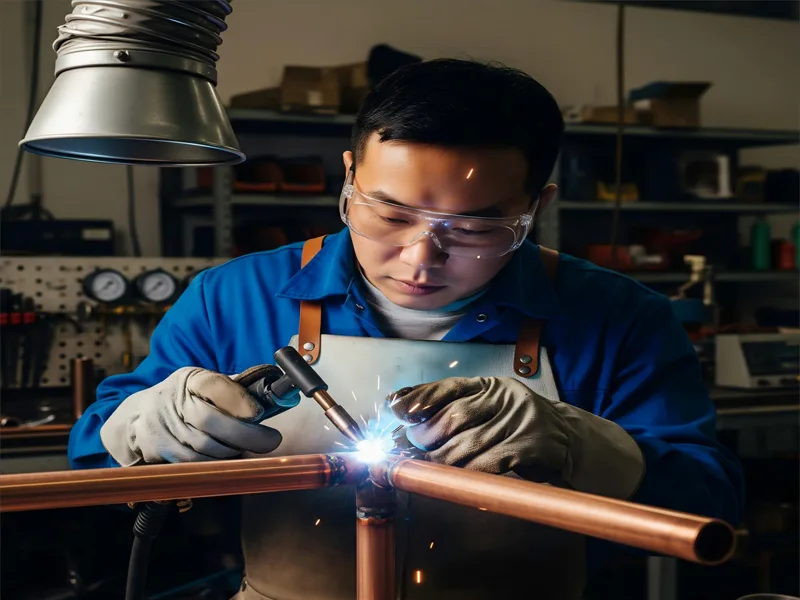
You have cleaned and prepared your copper pipe and fitting. Now you need to connect the pipe and fitting to create a strong joint. This step is important for a leak-free plumbing system.
Start by checking that both the pipe and the fitting are dry and free from dirt or oil. Hold the pipe in one hand and the fitting in the other. Push the pipe straight into the fitting. You should feel some resistance. Twist the pipe slightly as you push. This helps spread the flux and ensures a better seal.
Tip: If the pipe does not slide in easily, check for leftover burrs or debris. Clean the surfaces again if needed.
Make sure the pipe goes all the way into the fitting. Most fittings have a small ridge inside called a “stop.” Push the pipe until it touches this stop. This ensures the pipe sits at the correct depth. If you do not push the pipe in far enough, you may not get a secure joining of copper pipes.
Check the alignment before you move on. Pipes should line up straight. If you work on a corner or a T-joint, make sure each pipe fits snugly. Misaligned pipes can cause leaks or weak joints.
Here is a simple checklist to help you connect the pipe and fitting correctly:
- Check that both parts are clean and dry.
- Apply flux to both surfaces.
- Push the pipe into the fitting until it stops.
- Twist the pipe gently to spread the flux.
- Make sure the pipe sits straight and deep in the fitting.
| Step | What to Do | Why It Matters |
|---|---|---|
| Clean and dry | Remove dirt, oil, and moisture | Ensures good solder flow |
| Apply flux | Coat both pipe and fitting | Prevents oxidation |
| Insert pipe | Push until it hits the stop | Full contact for strong joint |
| Twist pipe | Rotate gently as you insert | Spreads flux, better seal |
| Check alignment | Make sure pipes are straight | Prevents leaks and weak spots |
Do not rush this step. Take your time to fit each piece properly. A good fit makes soldering easier and helps you avoid problems later. If you need to connect more than one joint, assemble all the pipes and fittings before you start heating. This helps you spot mistakes early.
Note: If you see gaps between the pipe and fitting, do not try to fill them with extra solder. Always use parts that fit well together.
By following these steps, you set yourself up for a strong, leak-free connection. Careful assembly is the foundation for a reliable plumbing system.
Heat Joint
Torch Selection
You need the right torch to sweat copper pipes safely and efficiently. Most people use a propane torch for home plumbing jobs. This type of torch is easy to handle and provides enough heat for soldering. If you work in a tight space, choose a torch with a small, adjustable flame. This helps you control the heat and avoid burning nearby surfaces. Always check that your torch works well before you start. Make sure the connections are tight and there are no leaks. A good torch makes it easier to heat the joint evenly.
Tip: Use a torch with a trigger start for quick and safe lighting. This feature helps you avoid accidents and saves time.
Heating Technique
You must heat the joint correctly to get a strong, leak-free seal. Hold the torch so the flame touches both the pipe and the fitting at the same time. Move the flame back and forth to heat the fitting and the pipe evenly. Do not point the flame at the solder. The goal is to heat the metal, not the solder itself. When you heat the joint this way, the solder will melt and flow into the gap by itself.
If you work in a tight space, use a heat shield to protect walls or nearby objects. Keep the flame moving to avoid overheating one spot. Overheating can cause carbon buildup, which makes it hard for the solder to stick. If you see the flux boil away or the surfaces turn dark, stop and let everything cool. Clean and reapply flux before you try again.
Note: Always check for water inside the pipe. Even a small amount of moisture can stop the solder from flowing. Use a plastic tube or cloth to remove water before you start heating.
Soldering Copper Pipe
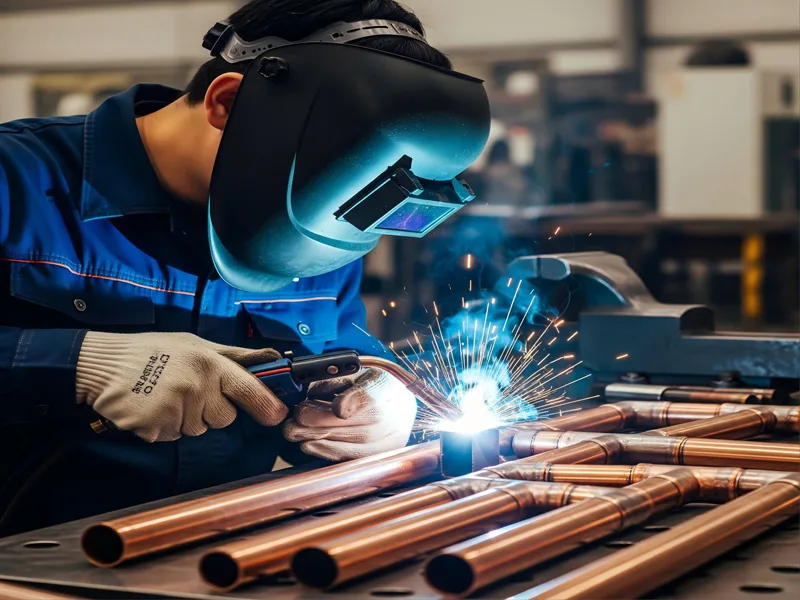
Once you heat the joint, touch the solder to the opposite side of the flame. The heat from the pipe and fitting will melt the solder. Watch as the solder flows around the joint and fills the gap. Do not add too much solder. A small bead around the edge means you have enough. If the solder does not flow, check that you cleaned and fluxed the surfaces well. Sometimes, uneven heating or dirty pipes can cause problems.
If you notice uneven heating, follow these steps:
- Clean both the inside and outside of the copper fittings again.
- Apply a generous amount of flux to both surfaces.
- Heat the fitting on one side and apply solder on the other to help spread the heat.
- Avoid overheating to prevent carbon buildup.
- Make sure the pipe is dry inside.
- If the flux boils away and the surfaces look dirty, take the joint apart, clean it, and start over.
Sweat copper pipes with care and patience. Good technique helps you avoid leaks and makes your plumbing last longer. Always heat the pipe joint and heat the fitting evenly for the best results when soldering copper pipe.
Solder Copper
Apply Solder
You have heated the joint. Now you need to apply solder. Hold the solder in one hand and the torch in the other. Touch the tip of the solder to the joint, on the side opposite the flame. The heat from the copper will melt the solder. The solder will flow into the gap between the pipe and the fitting. This process is called capillary action.
Do not melt the solder with the flame. Always let the hot copper do the work. Move the solder around the joint to make sure it fills the entire seam. If the solder beads up or does not flow, the joint may not be hot enough, or the surfaces may not be clean. Remove the torch once you see the solder flow all the way around.
Tip: Use a length of solder about equal to the diameter of the pipe. For example, if you are working with a 1/2 inch pipe, use about 1/2 inch of solder for the joint. Bend the end of the solder at a right angle. When you use up this length, you usually have enough for a strong seal.
Soldering Copper Pipes
Soldering copper pipes requires patience and attention to detail. You need to keep the torch moving to avoid overheating one spot. Too much heat can burn away the flux or damage the pipe. If you see the flux start to smoke or turn black, remove the heat and let the joint cool. Clean and reapply flux if needed.
Here is a simple step-by-step process for soldering copper pipes:
- Heat the joint evenly.
- Touch the solder to the joint, away from the flame.
- Watch for the solder to melt and flow into the seam.
- Move the solder around the joint for full coverage.
- Stop adding solder when you see a small, even ring around the joint.
The amount of solder you need depends on the size of the pipe. The table below shows the recommended solder length for different pipe sizes:
| Nominal Tube Size (inches) | Tube Outer Diameter (inches) | Joint Clearance (inches) | Recommended Solder Length (approximate) |
|---|---|---|---|
| 1/4 | 0.375 | 0.030 | Smallest solder length, suitable for 1/4 inch tubing |
| 3/8 | 0.500 | 0.049 | Slightly longer solder length than 1/4 inch tubing |
| 1/2 | 0.625 | 0.080 | Moderate solder length for 1/2 inch tubing |
| 3/4 | 0.875 | 0.168 | Increased solder length for 3/4 inch tubing |
| 1 | 1.125 | 0.262 | Larger solder length for 1 inch tubing |
| 2 | 2.125 | 0.729 | Substantially longer solder length for 2 inch tubing |
| 4 | 4.125 | 2.281 | Longest solder length for 4 inch tubing |
Note: Actual solder use may vary based on your technique and the joint’s condition. The table gives you a good starting point.
Check Coverage
After you finish soldering, you need to check your work. Look for a shiny, even ring of solder around the entire joint. This ring shows that the solder has filled the gap. If you see gaps or holes, the joint may leak. A properly soldered joint will have a smooth, continuous bead with no sharp points or lumps.
Run a clean rag around the joint while it is still warm, but not hot. This step removes extra flux and helps you spot any missed areas. If you find a spot without solder, you may need to reheat and add more. Do not add too much solder. Too much can drip inside the pipe and block water flow.
Remember: A good solder copper joint looks neat and even. Take your time to inspect each connection before moving on.
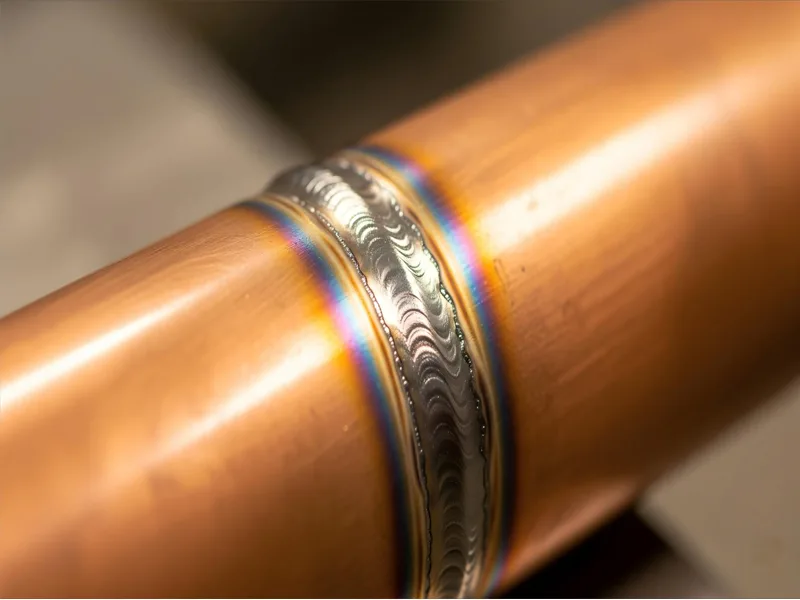
If you follow these steps, you will create strong, leak-free joints. Solder copper pipes with care and attention, and your plumbing will last for years.
Cool and Clean
Let Cool
After you finish soldering, let the joint cool down naturally. Do not touch the pipe or fitting right away. The metal stays hot for several minutes. If you try to move or adjust the joint while it is still hot, you can weaken the seal. Letting the joint cool on its own helps the solder set properly. You should avoid using water or a wet rag to cool the joint quickly. Rapid cooling can cause cracks or stress in the metal. Wait until the pipe feels cool to the touch before you move to the next step.
🔥 Tip: Keep your hands and tools away from the joint until it cools. This prevents burns and keeps the joint strong.
Clean Residue
Once the joint has cooled, you need to remove any leftover flux. Flux residue can cause corrosion if you leave it on the pipe. Cleaning the joint right away helps keep your plumbing safe and long-lasting.
The most effective way to clean flux residue is to use hot water and a wet rag or cloth. Most plumbing fluxes are water soluble, so this method works well for most jobs. For stubborn spots, you can use a Scotch-Brite pad or sand cloth to scrub away any remaining residue or corrosion. If you work on a large project or need a deeper clean, advanced methods like steam cleaning or chemical solutions can help, but you should use these with care to avoid damaging the copper.
Here are some common cleaning methods:
- Use hot water and a wet rag to wipe the joint and remove most flux residue.
- Scrub with a Scotch-Brite pad or sand cloth for tough spots.
- For heavy buildup, consider steam cleaning or a short soak in a mild acidic or basic solution, but rinse well and avoid long exposure.
- Mechanical cleaning, like wire brushing or sandblasting, can help with brazed joints, but use gentle pressure to protect the copper.
🧽 Note: Always clean the joint as soon as it cools. Prompt cleaning prevents corrosion and keeps your plumbing in good shape.
Inspect Joint
After cleaning, inspect the joint closely. Look for a smooth, shiny ring of solder all the way around the connection. This ring shows that the solder has filled the gap and sealed the joint. Check for any gaps, holes, or uneven spots. If you see any problems, you may need to reheat and add more solder. Make sure the pipe and fitting are straight and secure. A good inspection helps you catch mistakes before you turn the water back on.
You can use this checklist to inspect your work:
| Inspection Step | What to Look For |
|---|---|
| Solder coverage | Even, shiny ring around joint |
| Cleanliness | No visible flux residue |
| Joint alignment | Pipe and fitting are straight |
| Surface condition | No cracks or burnt spots |
👀 Tip: Take your time during inspection. Careful checking now saves you from leaks and repairs later.
Troubleshooting
Leaks
You may notice a leak after you finish soldering. This problem often happens when the solder does not fill the gap between the pipe and the fitting. Sometimes, you might see water dripping or a damp spot near the joint. You should always check for leaks before you close up walls or turn on the water fully.
To test for leaks, dry the area and then turn on the water slowly. Watch the joint closely. If you see bubbles or water, you do not have a watertight seal. You need to fix this right away to keep your plumbing safe and leak-free. A good joint will stay dry and show no signs of moisture.
💡 Tip: Use a dry paper towel to wipe around the joint. If the towel gets wet, you have a leak.
Re-soldering Copper Pipe
If you find a leak, you can often fix it by resoldering the joint. First, turn off the water and let the pipe dry. Use a cloth to remove any water inside the pipe. Next, heat the joint with your torch until the solder melts. Pull the pipe and fitting apart while the solder is still soft. Clean both parts again with an emery cloth and a wire brush.
Apply fresh flux to both surfaces. Push the pipe back into the fitting and heat the joint evenly. Touch the solder to the joint and let it flow in. This process helps you create an air-tight joint. Let the joint cool before you test it again. Always check for leaks after you finish.
🔥 Note: Never try to add new solder to a dirty or wet joint. Always clean and dry the parts first.
Common Mistakes
Many people make the same mistakes when soldering copper pipes. You can avoid these problems if you know what to watch for:
- Not cleaning the pipe and fitting well enough.
- Using too little or too much flux.
- Overheating or underheating the joint.
- Moving the pipe before the solder cools.
- Not pushing the pipe fully into the fitting.
Here is a table to help you spot and fix common mistakes:
| Mistake | How to Fix |
|---|---|
| Dirty surfaces | Clean with emery cloth and brush |
| Too much flux | Wipe off extra before heating |
| Overheating | Move torch, heat evenly |
| Pipe not fully inserted | Push until it stops |
| Moving joint too soon | Let cool before touching |
You should always take your time and check your work. Careful steps help you achieve leak-free plumbing every time.
You now know how to solder copper tubing with confidence. This guide shows you each step for a strong, leak-free joint.
- Cut, clean, and deburr the pipe.
- Apply flux and assemble the joint.
- Heat the fitting, add solder, and let it cool.
- Inspect your work and test for leaks.
Always follow safety tips and prepare carefully. Practice these steps from the guide to master how do you solder copper tubing. For large or complex projects, trust AFI Industrial Co., Ltd. for expert results.
FAQ
Touch the solder to the joint. If the solder melts and flows into the seam, the joint is hot enough. If it does not melt, keep heating and try again.
Yes, you can use a regular propane torch. It provides enough heat for most home plumbing jobs. Make sure the torch works well and always follow safety tips.
Use lead-free solder for any pipes that carry drinking water. Lead-free solder is safe and meets plumbing codes. Always check the label before you buy.
Dirty or oxidized surfaces stop solder from sticking. Clean the pipe and fitting until they shine. Apply flux before heating. Make sure the joint is dry and free from oil.
Wait at least five minutes. The joint needs time to cool and harden. Touching it too soon can weaken the seal or cause burns.
Turn off the water. Dry the area. Reheat the joint, pull it apart, clean both parts, and reapply flux. Solder the joint again for a better seal.
No, you cannot. Water absorbs heat and prevents the joint from reaching the right temperature. Always dry the pipe completely before you start soldering.
Yes, you do. Wipe off any leftover flux with a wet rag after the joint cools. Flux can cause corrosion if you leave it on the pipe.


